Giveaway is now closed.
Winner TBA Thursday, 1/28
Thank you to all that entered!!
So many of you asked me if I could tell you how I made the scarves for my mom for Christmas - seen
here.
Well, you'll be happy to know, that today, I will tell and show you! Tutorial time! :)
I hope this tutorial is helpful to you, and if you make some of these, please share!!! Because these are so easy to make, you can make 1 start to finish in 10 minutes! Not kidding. Ok. Here we go...
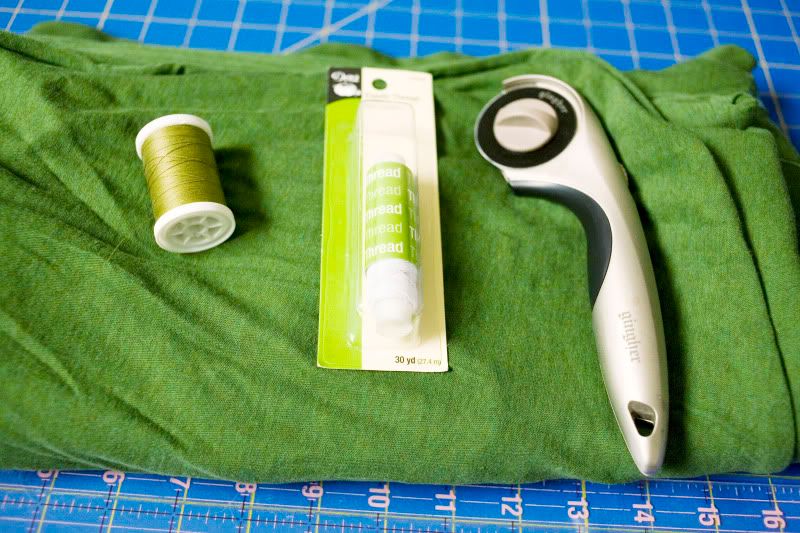
Here are the supplies you will need:
3 yards of Knit Fabric [T-Shirt Fabric]
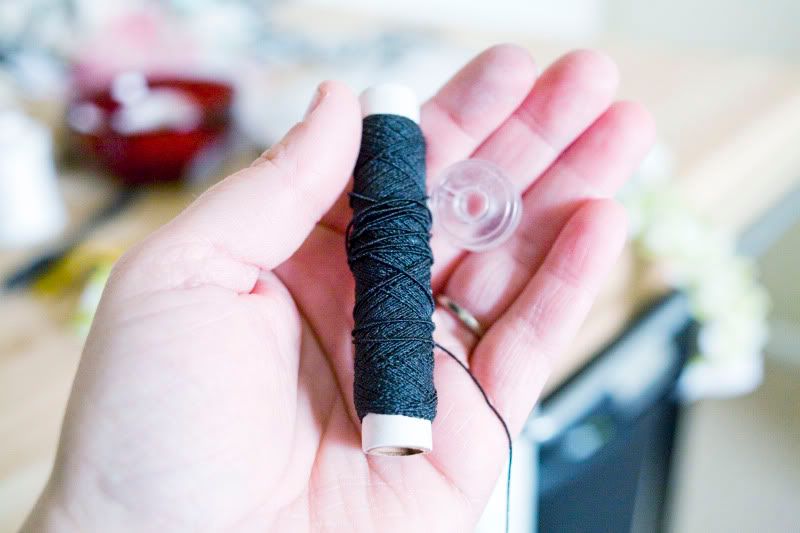
1 spool of elastic thread
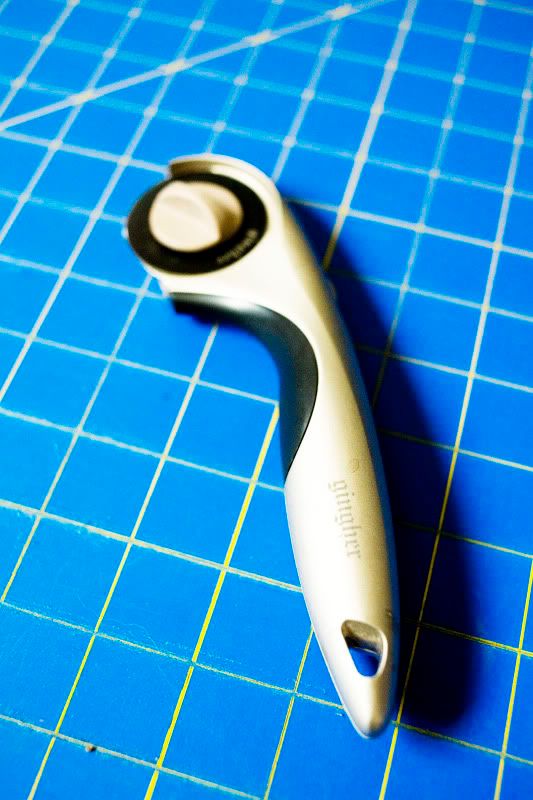
Rotary tool [Gingher Rocks!]
Matching Thread
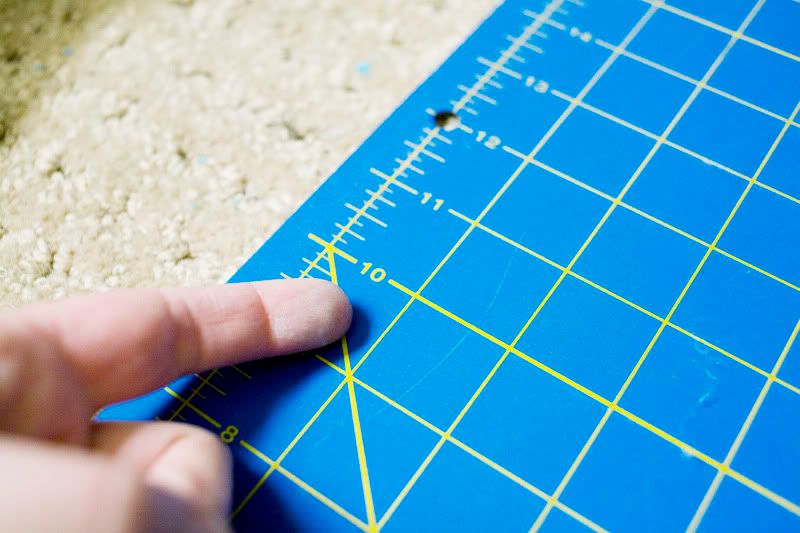
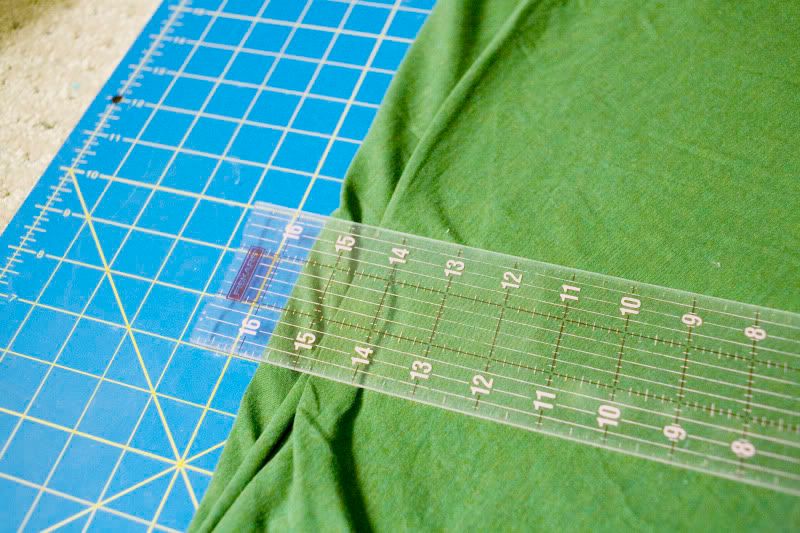
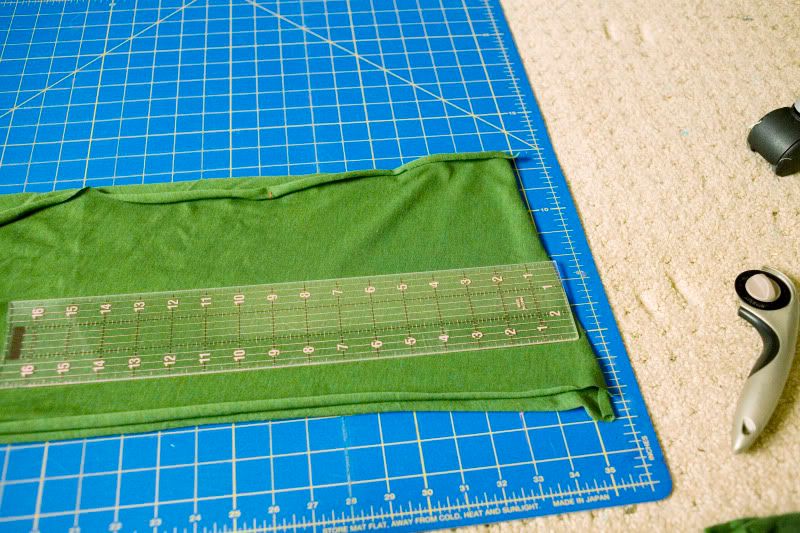
Now. Lay your fabric out length wise. And cut it 10 inches wide.
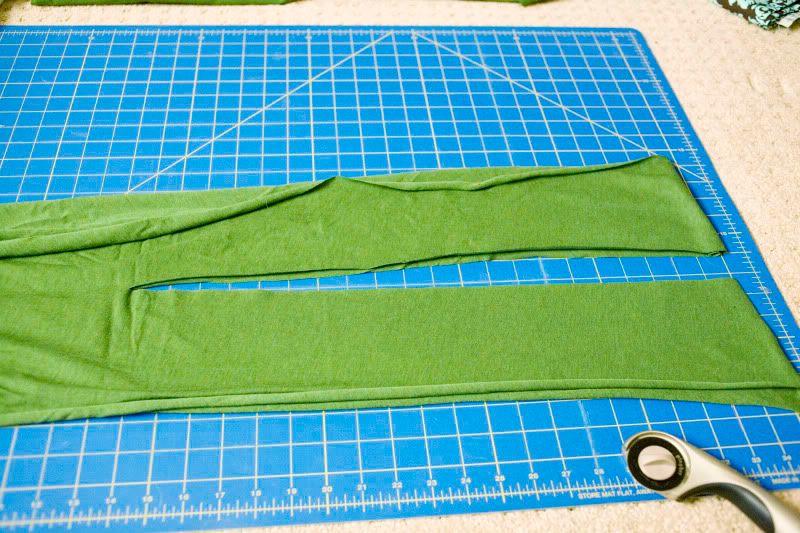
Good! Now fold your 10 inch by 3 yard strip in half. For this part, make sure you are NOT cutting on the fold. If you're not sure what cutting on the fold means, click
here. Anyway. Now. Measure 5 inches [this will be the middle]. Cut up the fabric 22 inches . . .
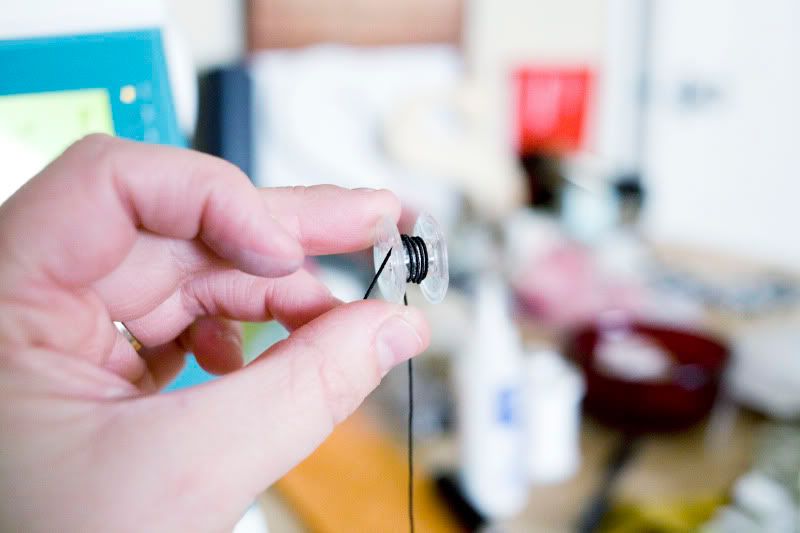
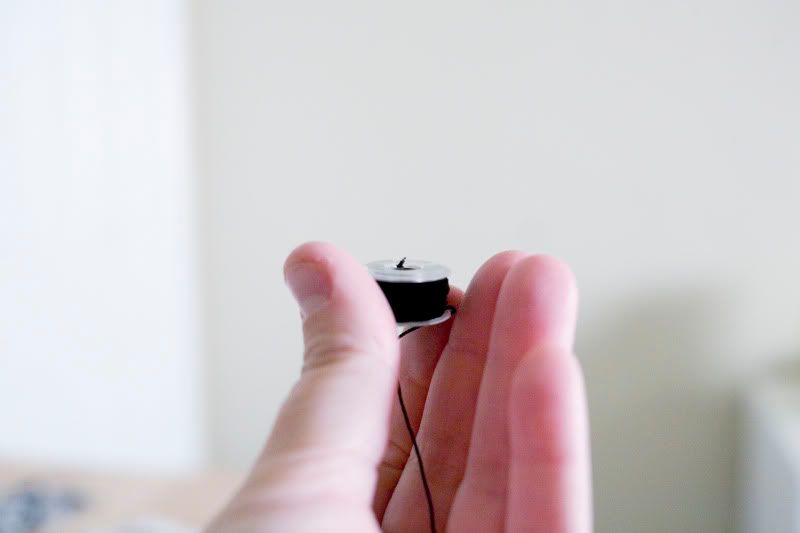
Now. Grab your elastic thread, and a bobbin.
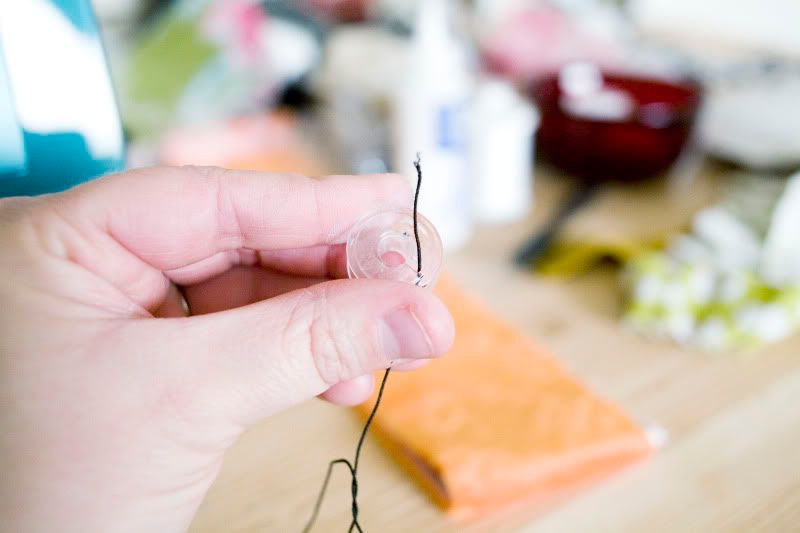
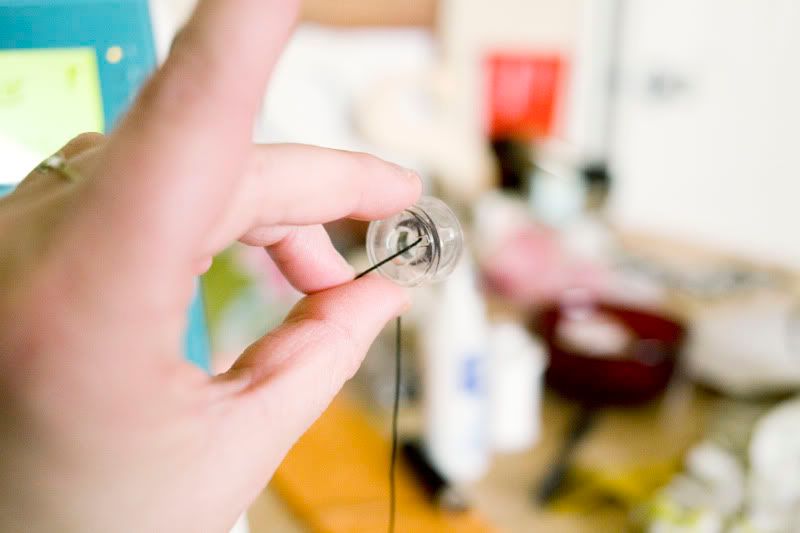
Start winding by slipping the end of the elastic thread into the bobbin hole.
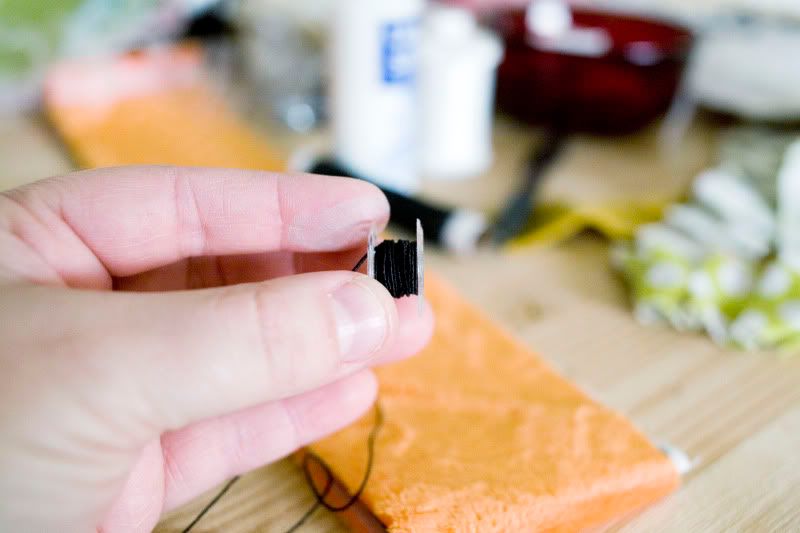
Now hand wind the bobbin. Yes. You have to do this by hand. BE careful! Do not wind it too tight, or it will lose it's stretch! Do it loosely, but not too lose. ha!! If you have questions, as always, contact me!
When you first start winding the elastic thread around the bobbin, make sure you hold the tail that you put through the bobbin hole. Otherwise it will slip through the hole, and cause you to be frustrated. And we don't want that. ;)
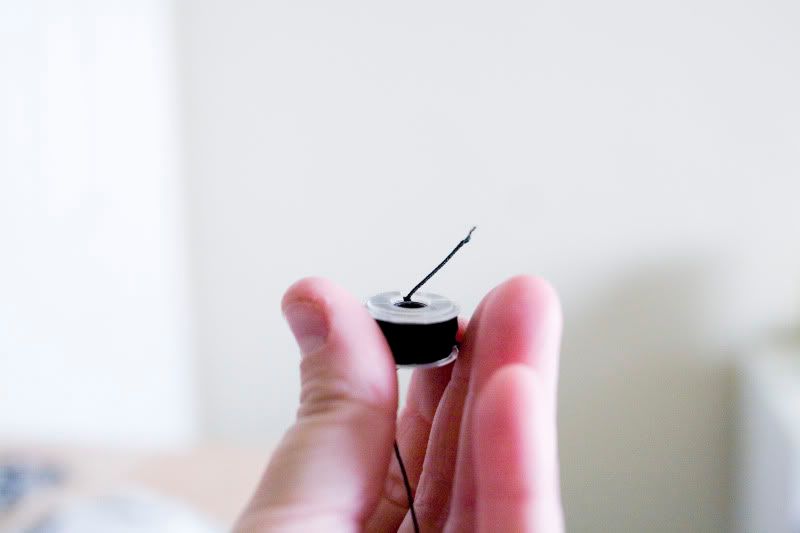
Now that that is done, trim that tail you were holding onto while winding...
If you don't, it will get stuck in your bobbin casing, and we definitely do not want that to happen!!
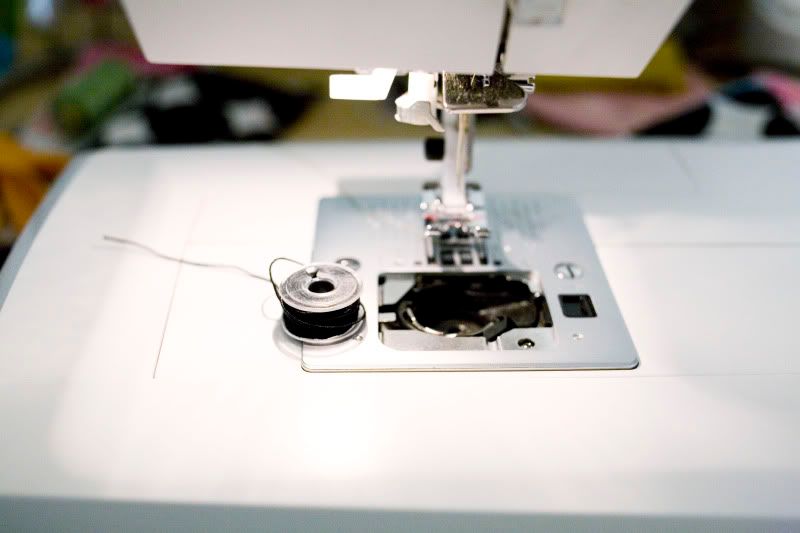
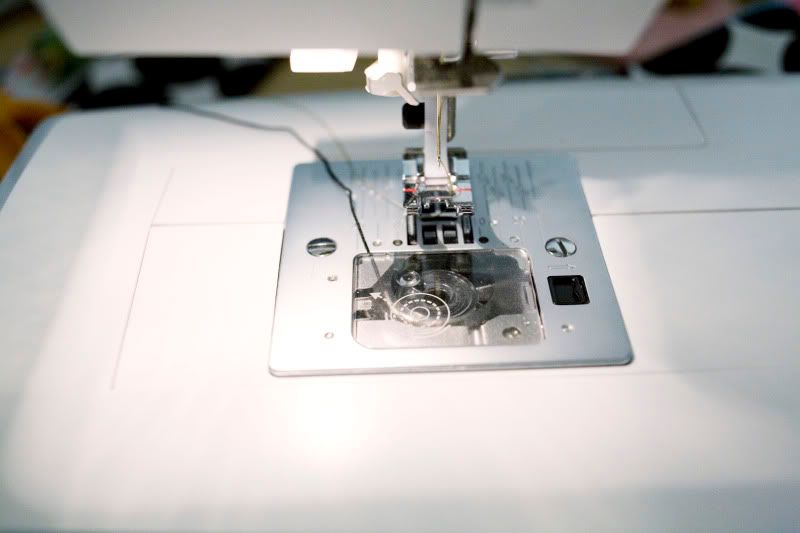
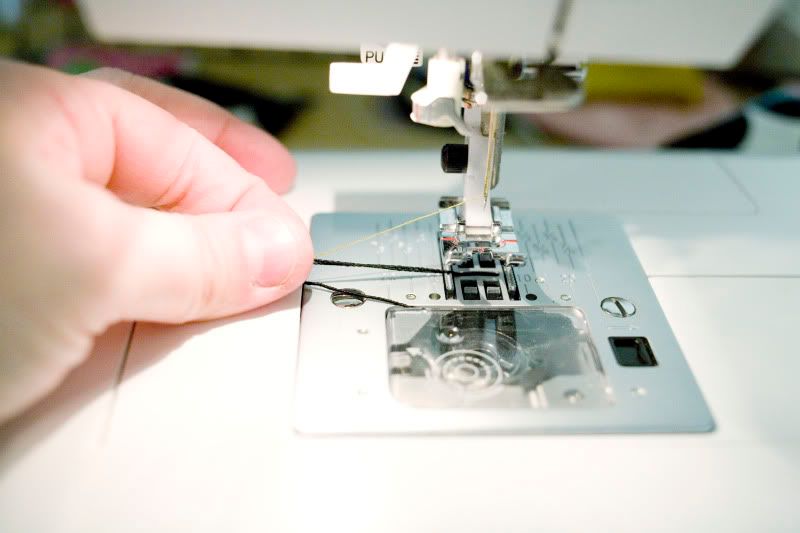
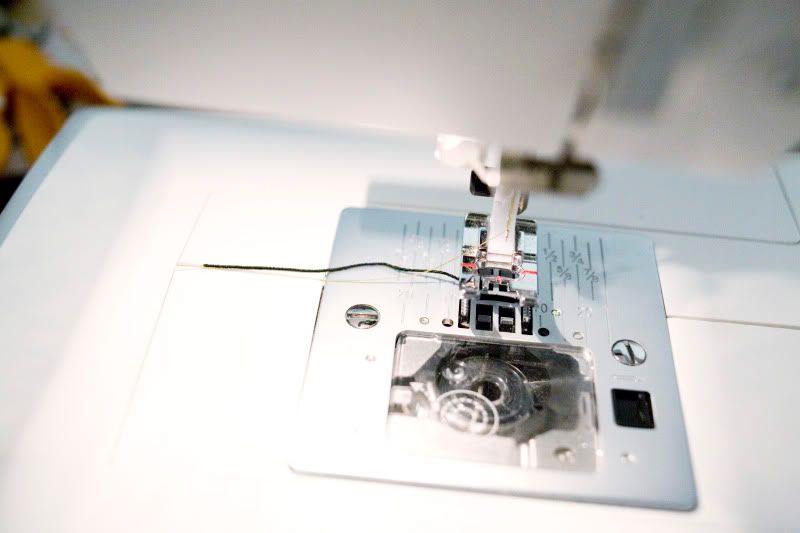
OK! Now we are ready to load this elastic wound bobbin into the bobbin casing of your sewing machine... load it as you would any other thread.
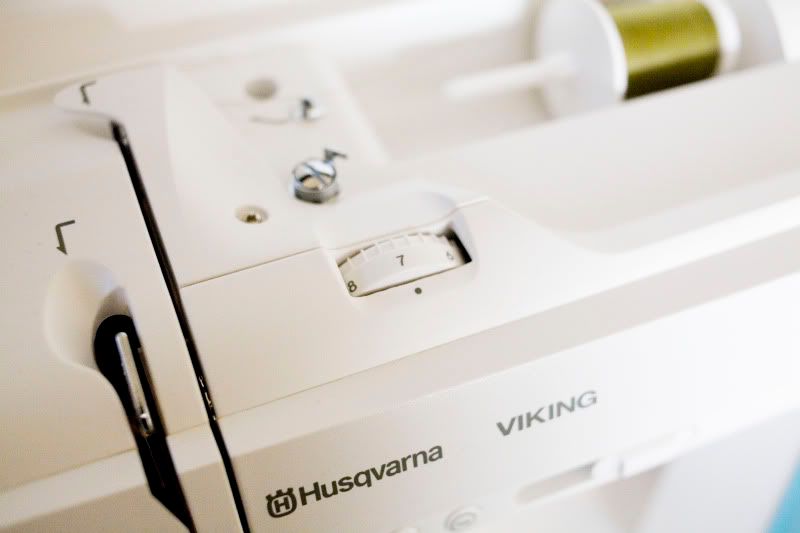
As for tension, I had mine set on 7. But all sewing machines are different. I like my tension to be tight.
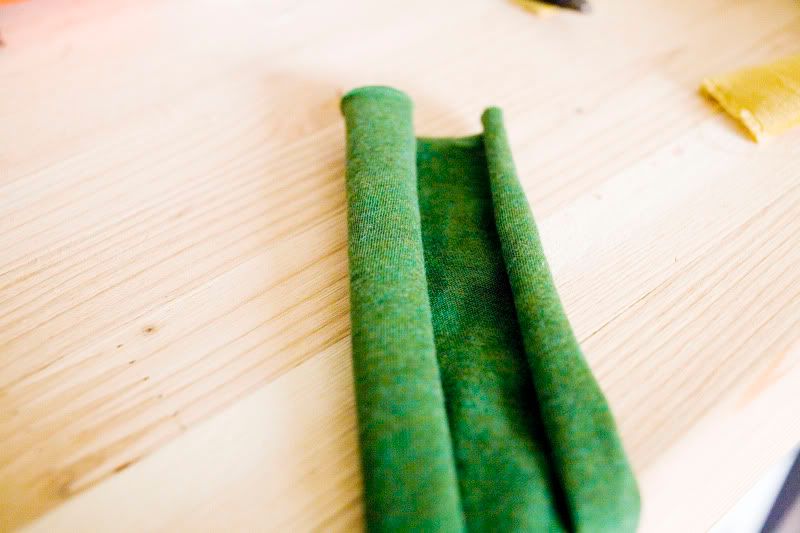
And, now you're ready to make your scarf! Choose a side to start on... it does not matter. Left, right, right, left. Pick pick pick. And don't worry if the ends of the fabric curl in. It's normal...
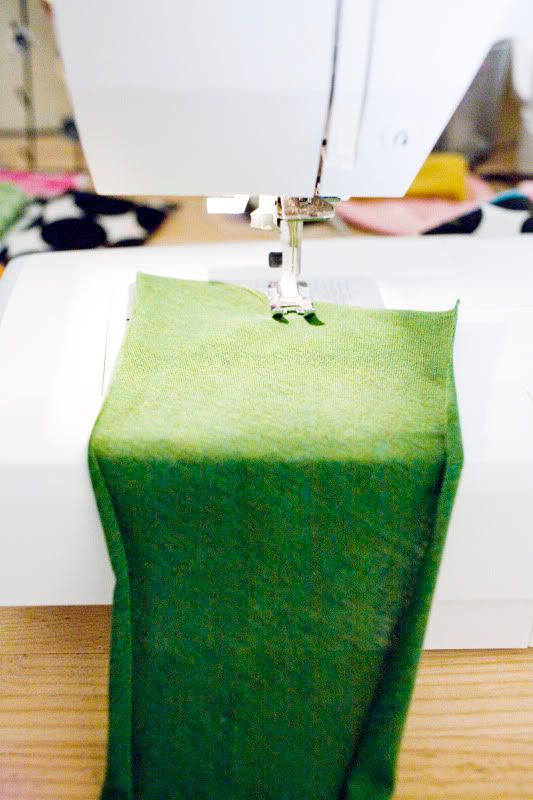
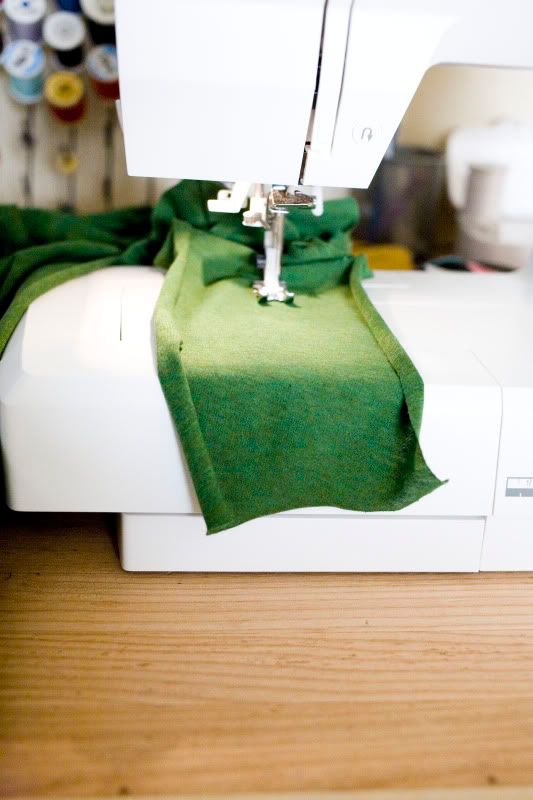
Let's begin! Sew down the middle of your right or left side piece...
Keep going to the other end... then cut! :)
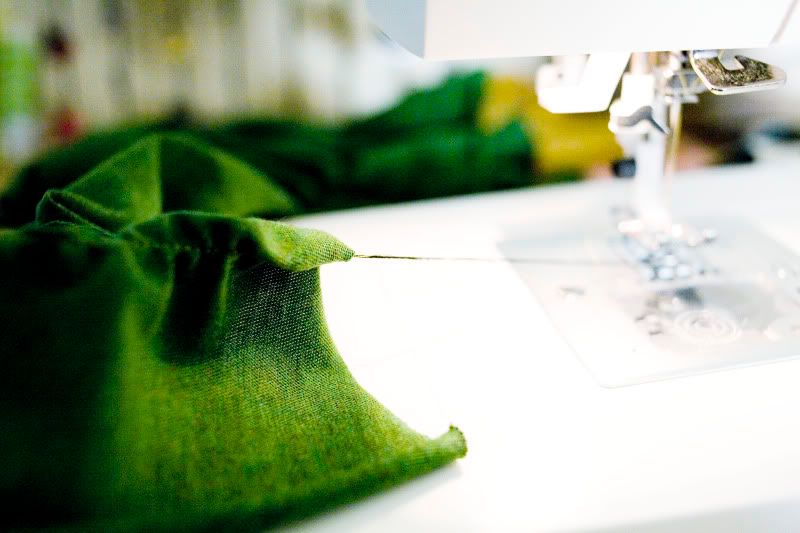
This is what the elastic thread on the back SHOULD look like!
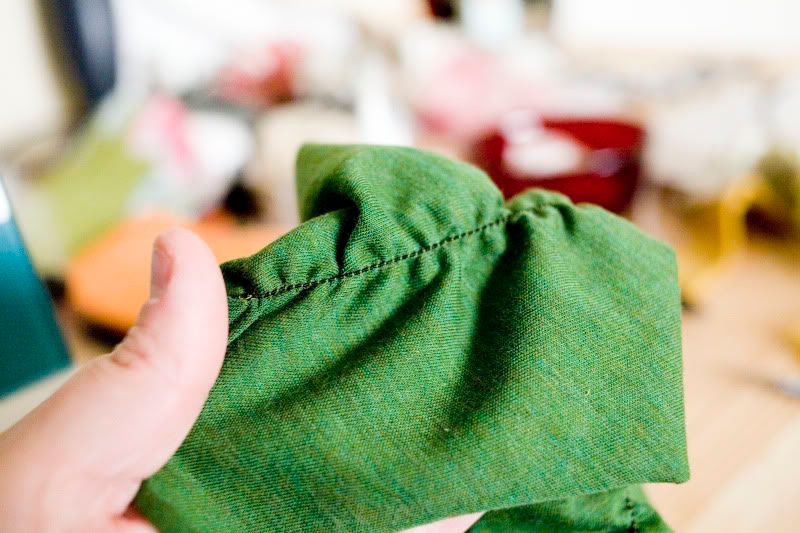
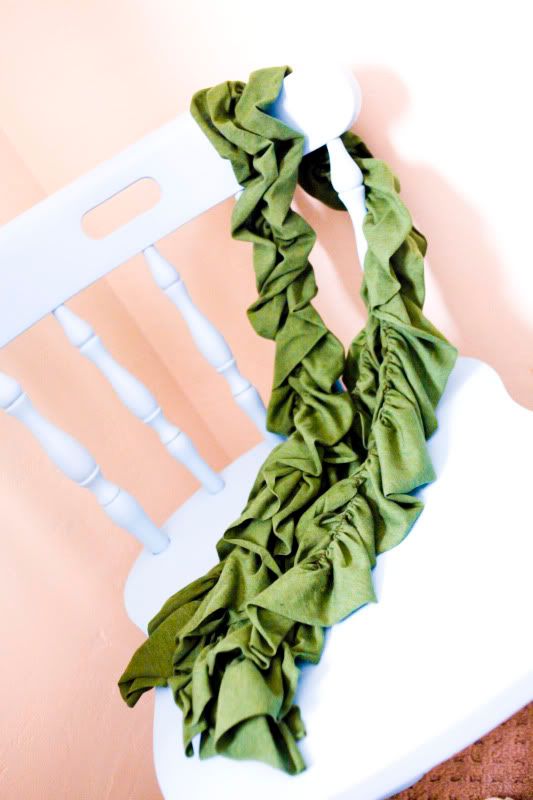
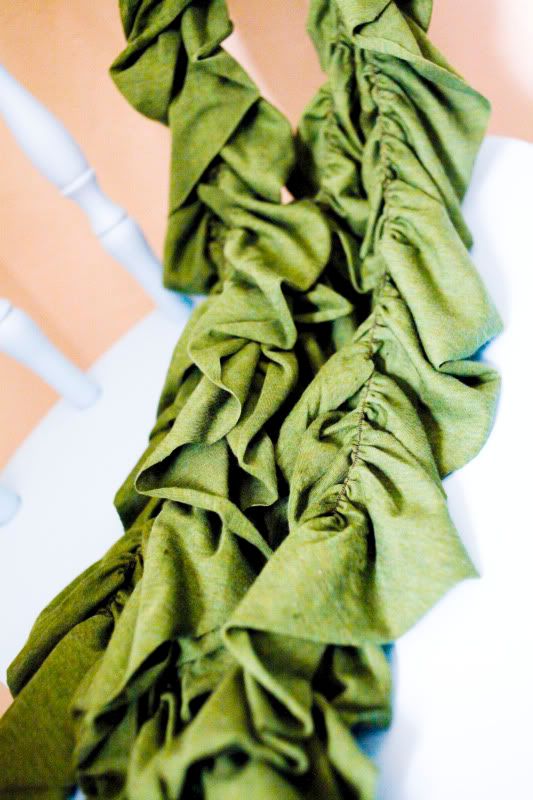
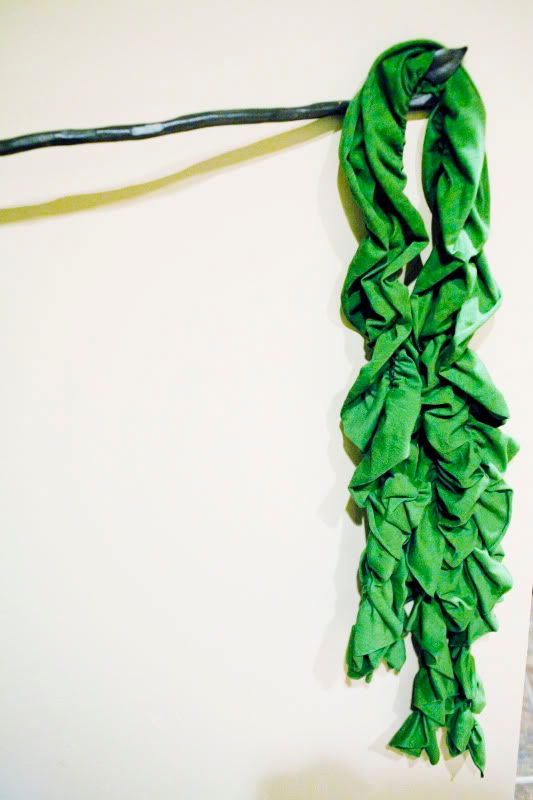
And this is what your scarf SHOULD look like so far...
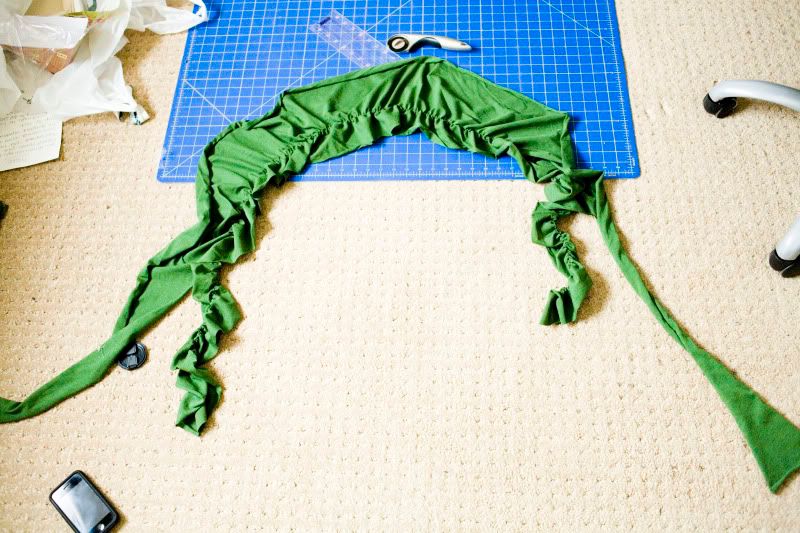
Don't worry. I know it looks weird now, but that will change. Right now! Sew the other side of your scarf so that it ruffles up too!
You are ALMOST done! Now go to your ironing board..
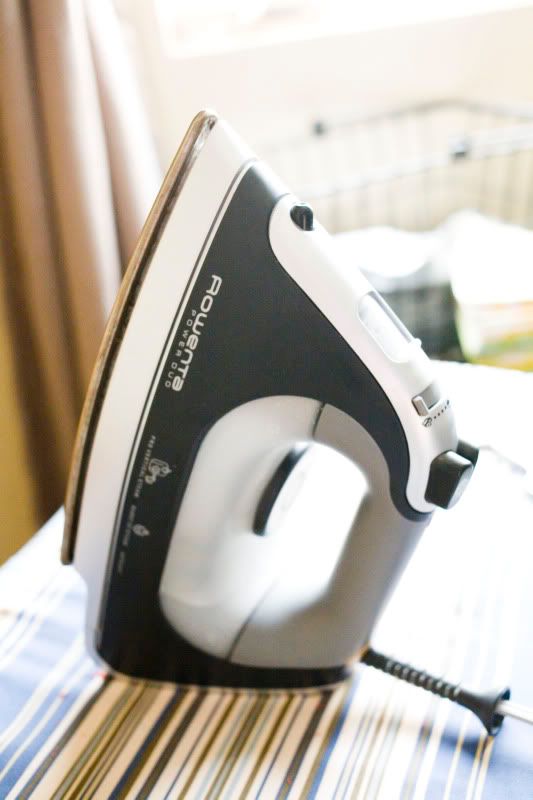
lay your scarf on the ironing board with elastic thread facing towards the sealing. Put your iron on the steam setting. Hold the iron about 2 inches above your scarf and steam it! The whole thing! This will tighten up your elastic thread.
Guess what?!! You're DONE!
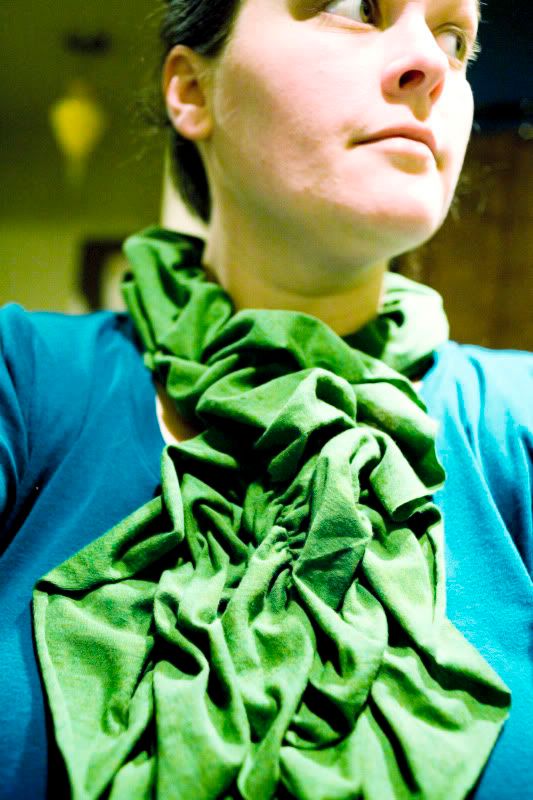
Put it on and show it off!!
Oh look! That was ME! No wayyyyy!
I hope this tutorial was easy to follow!! As always, share what you make with me! I love seeing your creations. You're all so inspiring!!
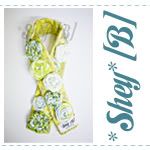
Now! I have this scarf that I made for the tutorial, and I already have some of these scarves... so... how about a GIVEAWAY?!
Whatcha think?
2 ways to enter! That is all just TWO! ;)
1. Leave a Comment
2. Tweet about this giveaway. Make sure to include "@shealynn" in you tweet so I can see them.
Have a great night!!
EDITED TO ADD: If you are not a sewer, but love this scarf and want one of your very own, visit,
Brassy Apple [she has been making these for a long while now] and/or
Sevi Designs.


